Edenly jewellery is created by a technique called "casting with wax". You will find a complete description of how our diamond jewellery is made below.
The Manufacturing of Edenly Jewellery
Step 1: Design
.jpg) A preliminary sketch of the diamond jewellery is drafted with all its characteristics.
A preliminary sketch of the diamond jewellery is drafted with all its characteristics. On the left is an example of a ring.
Step 2: Production of the Prototype
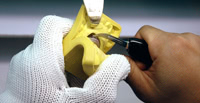 A prototype in keeping with the design is created by an artisan (jewellery without its stones). The imprint of rubber is then carried out by means of vulcanisation. After cooling, the mould is cut to release the prototype.
 Thus one is able to obtain a rubber imprint of the prototype.
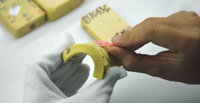 Next, liquid wax is injected inside the rubber mould in order to obtain an exact replica of the initial prototype after removal from the mould.
 Step 3: Plaster Moulding
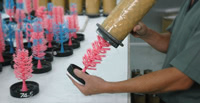 The wax jewellery is then placed in a metal cyllinder and surrounded with a coating (plaster resistant to heat).
  The set is then placed in an oven at a high temperature (about 750°C) to allow for the elimination of the wax (melted then burned) and to approach the temperature at which the mould is melted.
 In this stage, one obtains a reverse imprint in plaster of the set of jewellery.
Step 4: Preparation of the Alloy
 One determines the quantity of gold and other metals that compose the alloy for the jewellery. According to French Law, we use an alloy of 18 carats which contains 75% gold.
 Pure gold being of 24 carats, for 24g of alloy you have 18g of pure gold.
The mix with other metals determines the color of the gold, whether it is yellow, white, or pink.
As an example, pink gold consists of 75% pure gold, 12,5% silver and 12,5% bronze, which provides the best results for colour/mechanical properties.
Step 5: Casting of the Jewellery
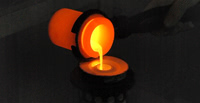 The gold alloy is now heated to nearly 1000°C. It is at this stage that it is injected into the plaster mould.
 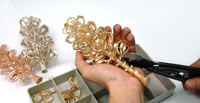 After cooling, the plaster is dissolved in order to retrieve the "raw casting" pieces.
 Step 6: Finishing
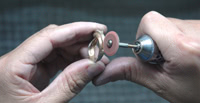 Our diamond jewellery maker will now manually rework the surface of the jewellery to give it its definitive appearance. The different parts of the jewellery are assembled in their different colours, depending on the piece of gold diamond jewellery. At this stage, the setting of your jewellery is complete.
 Step 7: The Setting
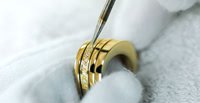 The stone is now adjusted on the jewellery for an optimal setting. It is then "fixed" with different techniques: prong settings, channel settings, invisible settings, etc. It is a long and delicate process that requires a great deal of patience and dexterity.
 On the left is an example of a wedding ring.
Step 8: Imprinting The Seals
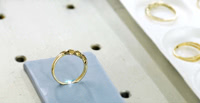 This operation consists of guaranteeing the origin and composition of your jewellery by imprinting two seals: - The "Seal of Guarantee" represented by the head of an eagle for 18 carats guarantees that your jewellery is composed of 75% gold. - The "Seal of Maître d'Ouvrage" indicates the name of the jewellery manufacturer.
Step 9 : The Finalization of Your Jewellery
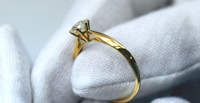 The final shine is now given to your jewellery. It will be cleaned by ultrasound. Finally, your jewellery is carefully controlled for quality with a magnifying class to verify that all aspects of your jewellery are in order before it is sent.
 Above is the example of an engagement ring.
Jewellery
for Everyone
for Everyone
Accessible, inclusive, and universal
EVERY MONTH, EDENLY GIVES AWAY
A PIECE OF JEWELLERY WORTH £500
A PIECE OF JEWELLERY WORTH £500
or refund of your jewellery up to £500. All subscribers to our newsletter and followers of edenly.jewellery on social media are automatically entered into the draw.
Your email will never be marketed. By validating, you agree to the Edenly Privacy Policy. +info
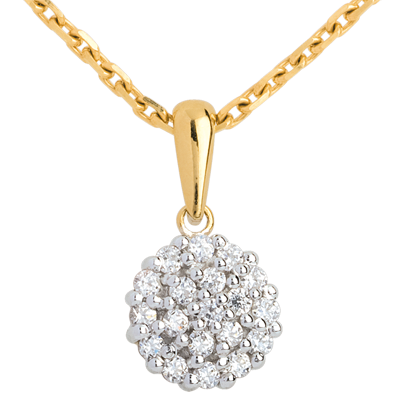
Congratulations Silvia V. (Maisons-laffitte ) !
This month you win the necklace Abondance Nº23 in 9-carat yellow and white gold with diamonds.
